Looks like most of it was shot in and around Portland, which is also fun. http://peopleforbikes.org/
For quite some time the idea of building my own wheels has intrigued me. There just seems to be this mystical perception of wheel building. That you’d have to be a skilled and train professional to become a wheel builder and that somehow anyone who knows how to build a wheel was born with the gift and knowhow. Simply put, it’s seems to be an unobtainable goal for most bike enthusiasts. Naturally, I felt determined to overcome this perception and delve into wheel building myself. I also love bikes partly due to how sustainable they are. Not in the eco-friendly, save the planet sort of sustainability — although they’ve definitely got that going for them as well — but I’m talking about sustainability in the sense of basic independence. I love that I can get on a bike and ride free of charge and when something goes wrong I’m able to fix it myself. Aside from running into a local bike shop for a new intertube or the like, I don’t need to depend on anyone but myself. And as I’ve mentioned in earlier posts, I’m building up my Long Haul Trucker with the goal of doing everything myself; and of course, this includes wheels.
I’m using these wheels for loaded Touring and so I wanted something pretty tough. I may have got a little overboard, but from all the research I’ve done, it seems that when it comes to touring, going overboard is rarely a bad thing. And since the most common issues people run into is with their rear wheel, I wanted to have something pretty tough. After researching, I decided to go with Mavic A719 rims and Shimano’s Deore XT hubs. The decision for the hubs was largely based on availability. Generally speaking, a rear hub with 135mm spacing (a standard for mountain bikes) that isn’t fitted for disc brakes can be hard to find. Disc brakes have become a norm for mountain bikes and so there are limited options when it comes to non-disc 135mm rear hubs, or so I found. It would have been great to fit the bike with disc brakes, but since the LHT frame isn’t built for disc-brakes I didn’t want to risk the added stress to the frame. The XTs seemed to be a solid hub for a reasonable price that fit my needs. As for spokes I when with some pretty gnarly DT Swiss Alpine III spokes, which are triple butted at 2.3/1.8/2.0. Word on the street is that they’re pretty f***ing tough. As for nipples, I just went with some DT Swiss brass nipples. Nothing fancy there.
So here are some shots of the wheels…
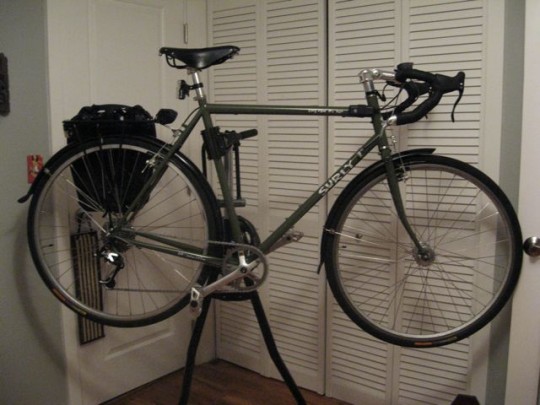
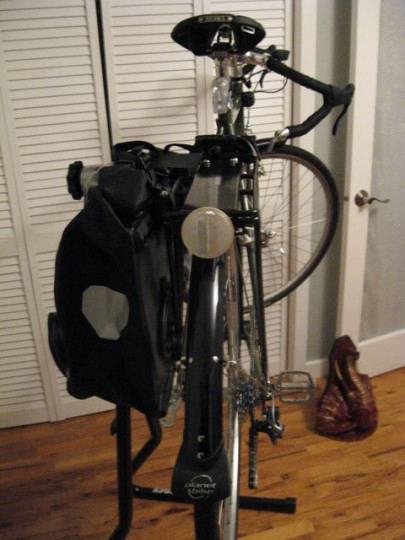
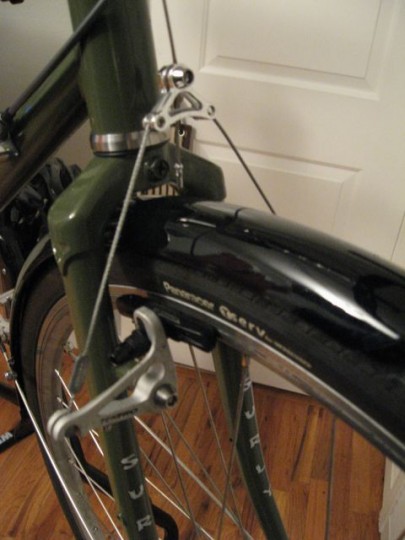
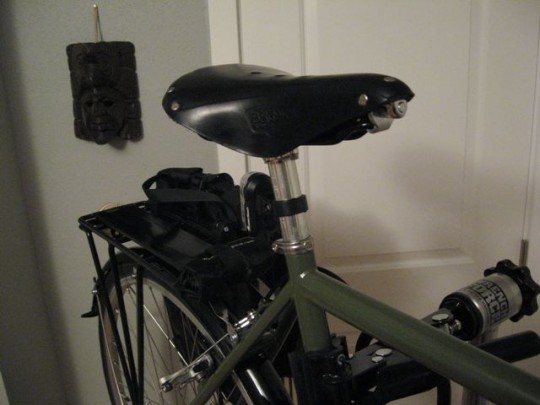
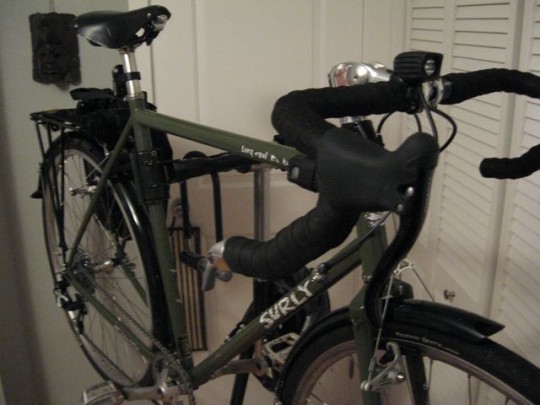
Getting closer to the final product on my Long Hauler Trucker. I’d say I’m about two thirds of the way through the project. A good while after getting my headset pressed, I was able to get a moving version of the bike working using scrap parts from other bikes. Then recently I got a new rear derailleur and cassette for the rear wheel, along with a nice set of Shimano bar end shifters, a Ritchey handlebar, Dimension Stem, and Thompson seatpost. More recently I was able to get a rear rack, fenders (Thanks Dad), and a new Brooks saddle. Below is the progress thus far. It’s mostly done, but I still want to revamp the front half of my drivetrain; new cranks, bottom bracket and derailleur. I’m also planning on building a new set of wheels myself, which will be a bit of an interesting venture — my first wheel building experience. Finally I’ll need to get my front rack, a few more panniers and water bottle cages. Feels so close! I’m also starting to look more at frames to start building up Laura’s future touring ride. Very exciting.
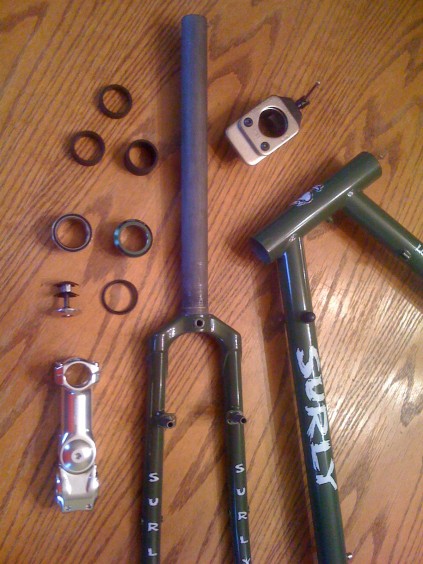
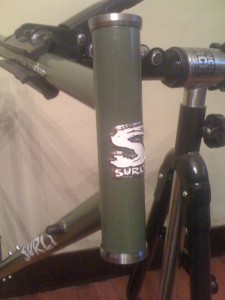
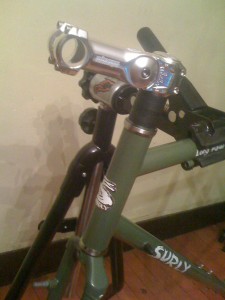
Last night I successfully pressed my first headset. I’ve been in the “process” of building up a Surly Long Haul Trucker for the past three or four months — and by “process” I mean, I’ve been too broke to buy anything but the frame, until now. The plan is to build it up as touring bike so that, once Laura also has a touring bike, we can start some long bike touring camping trips around the Pacific Northwest. My personal goal is to at some point bike from Portland to San Francisco. I’d also like to do the STP (Seattle to Portland) ride, but San Fran is the big one in my mind. Another goal I have is to be able to build this bike entirely myself, aside from fabrication of parts. I want to be the one to piece each part together including wheels and of course the headset. For those who are less familiar with bikes, the Headset of a bike is basically the set of components that connect the fork to the frame of a bike and allow you to turn your front wheel. There are two types of headsets for two types of forks, threaded and threadless. In my case I’m using a threadless headset, which is standard for most modern bikes.
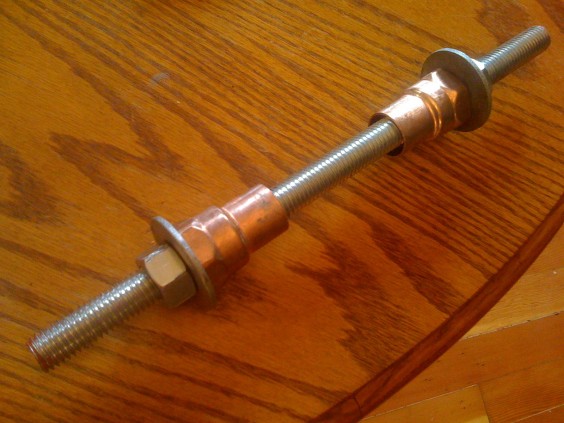
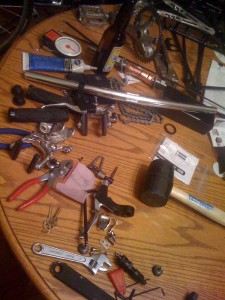
The first thing I needed to press my headset was the headset press. It’s possible to purchase these from companies such as Pardro’s and Park Tools, but they’ll run you between $100 – $150 or possibly more depending on the quality of the tool you purchase. In any case, for the frequency that I need a headset press (maybe once a year), it’s just not worth it. A cheap alternative is a big screw, some bolts, washers, and bushings. I used this post as a reference while making mine.
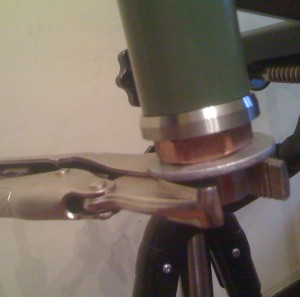
Although I couldn’t find any bronze bushings (as specified in the article), I found some copper pipe connectors that seemed to do the trick. The bushings or connectors have two purposes. The first is protecting your headset while pressing it into the frame. This is accomplished by simply using a weaker material than your headset (in my case stainless steel). The second purpose is to help hold the headset in place and steady as your pressing them.
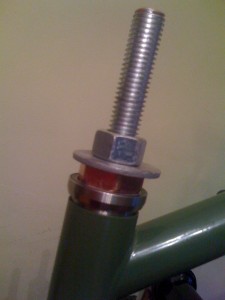
From the images I’m guessing most people can get the idea of what’s going on there. Basically, you’ve got a big screw with some bolts, your bearings in place on the frame with the washers and bushings in place to stabilize your bearings as their being pressed and start tightening the bolts until your bearings are pressed into the head tube of your frame. The trickiest (and probably most important) part of the pressing process is keeping the everything straight. If you press your bearings in crooked, you risk damaging the headset, it in the worst case scenario getting a damaged headset stuck in your fork, in which case you’re out both a headset and fork, both of which are not exactly low-cost items. This is what I had the most trouble with while installing my headset.
As I eluded earlier, the part I had hardest time with was pressing the bearing cups in straight. I think the main thing that would have helped more was finding a better buffer between the bearings and the bolts. In my case I used pipe connectors which fit the bearings almost perfectly. There was a nice tight fit between the two. However, there was a good difference of about a centimeter between the interior diameter of the connectors and my screw. This allowed for the entire system to shift around quite a bit. I resolved to get it as straight as I could. Tighten a bit. Check to see if everything was straight, taping with a rubber mallet when they weren’t. Also I ended up pressing each bearing in separately. Trying to get both bearings straight at once proved to be to difficult with the homemade press. As said and done though, it got the job done.
Next up on the todo list is cannibalizing my Bauer for some needed parts to get the Long Haul Trucker rolling. Still a little too broke to get everything I need to build up the bike on its own. And I’m starting to realize there’s more I need to get the Long Haul Trucker on the road even using parts from my Bauer. Regardless, it’s just nice not having the new frame sitting in a corner untouched… although it’s well on its way back to said corner. All in good time.
I just got word that Artcrank is coming to Portland this year — October 1, 2009.
For those of you unfamiliar with Artcrank, it’s “a Poster Show for Bike People”. The show, hosted by One On One Bike Studio, began in Minneapolis in 2007 and has now spread to Denver, Portland, San Francisco, and St Louis.
Here’s a glimpse of the 2008 show — music by Keston and Westdal:
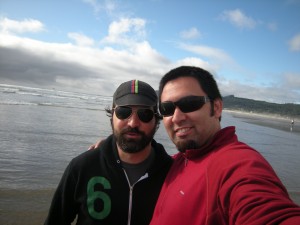
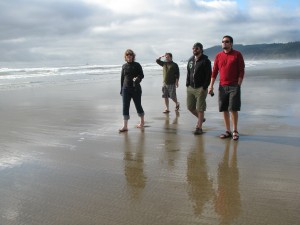
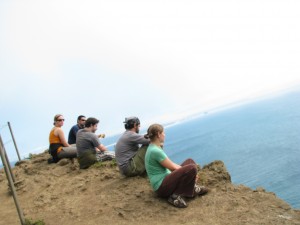
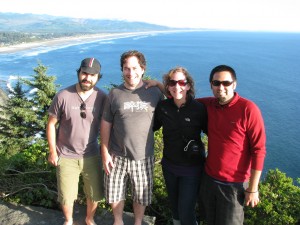
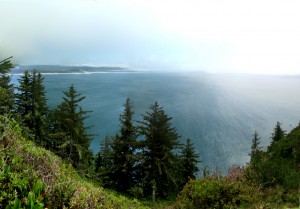
This past weekend, my friends Wes, Mason and Amy came out for a visit in Portland. It was awesome having them around and getting a chance to show them Portland and the Oregon Coast. The only downside to the whole trip was that it was only four days long. They got in on Wednesday and we tried to keep it simple night. Hung out at the house for a bit and then met some friends out at the Leisure Club here in St. John’s. It was a good night, but we did get a little rowdy. Towards the end of the night we met a couple who live here in St. John’s who invited us over for a bond fire. We accepted and were able to give the gang a little extra Portland flavor by mixing with the locals. For Thursday and Friday we headed out to the coast which was really the bulk of the trip. The weather was the best I’ve seen on the coast since we moved out here. Absolutely perfect.
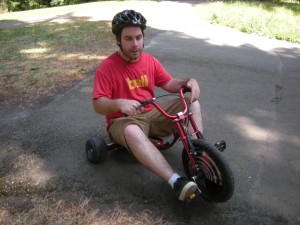
Our final day was quite exhausting. We’d gotten ourselves a trike from Toys R Us a couple of days prior and decided to give it a test run. Mason Wes and I headed out with the trike on a bike trailer to Mt Tabor Park, which is basically the highest point in Portland. I didn’t know until after the fact, but I guess it’s actually an active volcano. Hauling the trike out was quite a chore, but well worth it. No one got seriously injured although Mason took quite the digger on the bike ride home. We were all pretty exhausted by the end of it.
The trip was concluded with a trip downtown with dinner at the Montage and a night cap at Huber’s. By Sunday morning we were all pretty wiped out but still sad to see each other go. Miss those guys a lot. I get to see them again in a couple of weeks though, which brings a smile to my face.
Wes, Mason, and myself set out with three bikes and trike on a trailer. This was the end result:
