Today I finally upgraded to Snow Leopard from just plain ol’ Leopard. By doing this I found that my localhost configurations had gotten a little jacked up in the process. The first issue was that my /etc/apache2/extra/httpd-vhosts.conf file had been overwritten. Pain in the ass, but not too big of a deal to fix. The next issue though was that my MySQL database would not start.
Ashitaka: sudo /Library/StartupItems/MySQLCOM/MySQLCOM start
Password:
Could not find MySQL startup script!
With the help of this post on www.planet-geek.com I was able to get things up and running in no time.
The fix:
It appears the issue here is that Snow Leopard updates the path name to MySQL. I’m assuming to keep a 32-bit version from attempting to launch on the new 64-bit OS. To fix this, you’ll simply need to create a symbolic link to the new directory.
Ashitaka: cd /usr/local
Ashitaka: ls -ldt mysql*
drwxr-xr-x 17 root wheel 578 Sep 1 00:31 mysql-5.1.30-osx10.5-x86_64
Ashitaka: sudo ln -s mysql-5.1.37-osx10.5-x86_64/ mysql
Ashitaka: ls -ldt mysql*
lrwxr-xr-x 1 root wheel 28 Jan 12 17:07 mysql -> mysql-5.1.30-osx10.5-x86_64/
drwxr-xr-x 17 root wheel 578 Jan 12 13:05 mysql-5.1.30-osx10.5-x86_64
Keep in mind that you’ll need to double check the folder names. Mine was mysql-5.1.30-osx10.5-x86_64 while the author of the Planet Geek article had mysql-5.1.37-osx10.5-x86_64. This reflects the version of MySQL installed, so it’s quite possible this will vary.
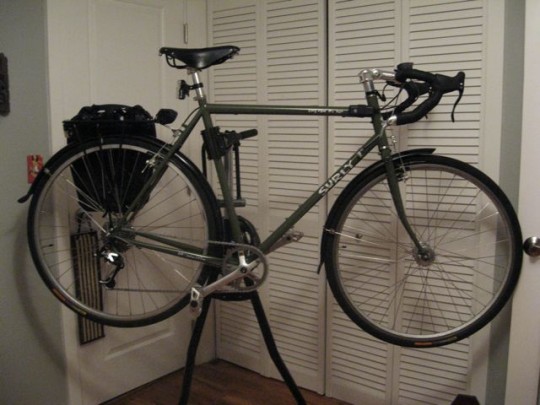
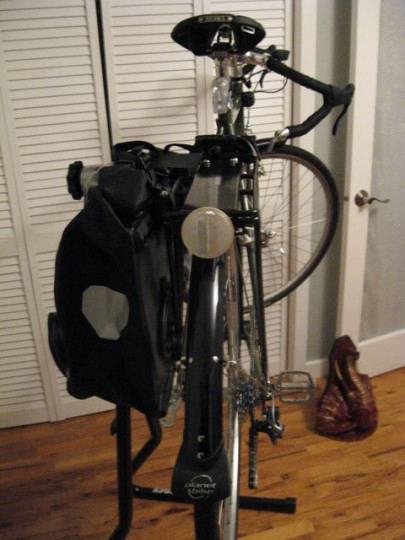
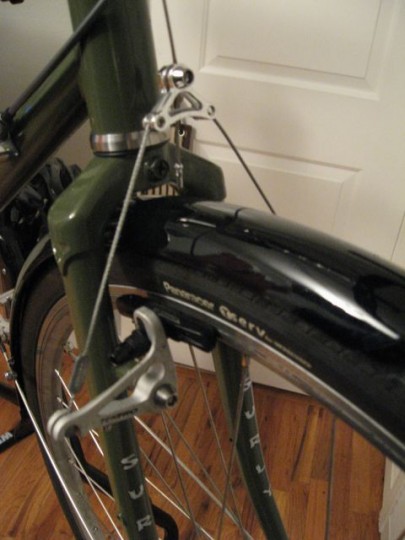
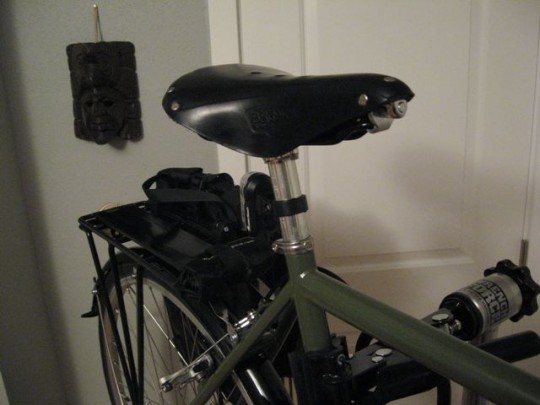
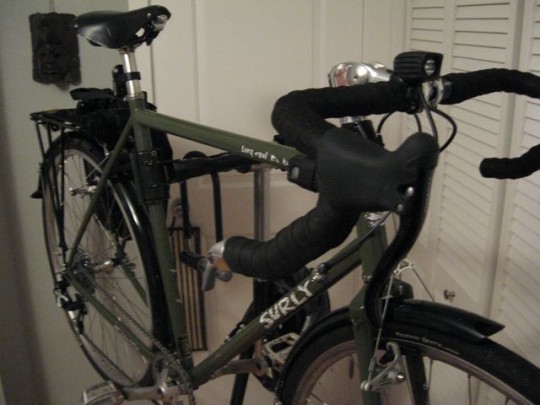
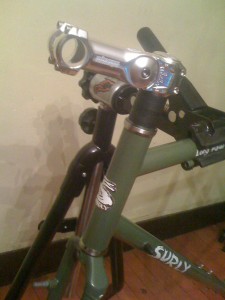
Getting closer to the final product on my Long Hauler Trucker. I’d say I’m about two thirds of the way through the project. A good while after getting my headset pressed, I was able to get a moving version of the bike working using scrap parts from other bikes. Then recently I got a new rear derailleur and cassette for the rear wheel, along with a nice set of Shimano bar end shifters, a Ritchey handlebar, Dimension Stem, and Thompson seatpost. More recently I was able to get a rear rack, fenders (Thanks Dad), and a new Brooks saddle. Below is the progress thus far. It’s mostly done, but I still want to revamp the front half of my drivetrain; new cranks, bottom bracket and derailleur. I’m also planning on building a new set of wheels myself, which will be a bit of an interesting venture — my first wheel building experience. Finally I’ll need to get my front rack, a few more panniers and water bottle cages. Feels so close! I’m also starting to look more at frames to start building up Laura’s future touring ride. Very exciting.
I’ve had a Wacom Bamboo Pen Tablet for the past year or so and love it. It’s hard to imagine going through my workday using a mouse now. However, I’ve found that from time to time the driver for my Wacom will fail when I login to my user account on OS X 10.5. Usually OS X asks if I’d like to relaunch the driver and everything is dandy, so I haven’t had to really do much anything about it; that is until today.
Today, I booted up my computer and my tablet driver failed and “relaunching” the driver didn’t help at all. I figured Apple must have made an update that conflicted with the Wacom driver, leaving me to reinstall the latest driver, which I downloaded from Wacom here. Unfortunately I found reinstalling the driver did no good. I restarted. Uninstalled the driver. Reinstalled the driver. Restarted. Nothing. Same problem over and over; once I login the driver fails and when I go to my preferences pane it tells me that it is unable to find my USB tablet. Unplug USB. Reboot. Plug in USB. Nothing.
Eventually I was able to discover that while the new driver did not seem to work for my user account, it worked fine on my login screen and for my “admin” account. So at least I knew the problem was specific to my user configuration. Now, armed with this information and Google I was really able to get to the root of the problem with the help of this post by someone going by the handle rausch over a year ago.
Quick Answer
When uninstalling (which should be done before reinstalling) the pen tablet driver, the Wacom uninstall script fails to remove a few key files located in the ~/Library/Preferences/ directory:
com.wacom.pentablet.p.TMP
com.wacom.pentablet.prefs
com.wacom.tabletpreferences
com.wacom.wacomtablet.prefs
To fix the driver from failing, uninstall the driver — do this by holding down open-apple and clicking on the icon in the preferences pane. Then delete any of the above files that still exist in your ~/Library/Preferences directory — where “~” is your user directory (OS X recognizes this syntax). In my case I only need to delete two of the above files as they were the only two of the four still present in my ~/Library/Preferences directory. Reinstall the driver and with any luck, your tablet will function properly again. Keep in mind, this will reset your tablet preferences back to the default settings.
Thank you rausch, whoever you are. And I hope that by republishing these instructions, someone else will be able find a solution to their problem faster that I did.
Today I was messing around with the built in Apache server on my Mac. What I was doing seemed simple enough; start my apache server with Web Sharing turned off in my system preferences. So I turned off Web Sharing and went for my Terminal, entering:
apachectl graceful
Expecting Apache to restart/start I was surprised to get this error:
launchctl: CFURLWriteDataAndPropertiesToResource( /System/Library/LaunchDaemons/org.apache.httpd.plist) failed: -10
After searching around online for a bit I realized that my problem was I failed to enter the command as root (or I forgot to put sudo in front of my command.
With a second attempt I entered:
sudo apachectl graceful
And vuala, apache is on. No errors. However, now when I enter:
sudo apachectl status
I get this error:
/usr/sbin/apachectl: line 106: lynx: command not found
Not sure what that’s about. If anyone’s got any ideas, I’d appreciate it.
So I’m in Adobe Acrobat today and find that my regular toolbars aren’t present. Naturally, I go to the view menu and begin selecting items that I think may be the correct set of tools that I’m looking for. The first item to grab my attention in the View menu is “Menu Bar”. So I select the item and what happens? The system menubar is no longer available along with my dock. I’m not talking about any of the toolbars in the Acrobat. I’m talking about the Menubar that lists (Apple Menu), Acrobat, File, Edit, View, etc. Now how do I get my menu back? I have no idea because I just hid the way I made it go away.
You would think ‘esc’ might bring things back similar to when in Fullscreen view, but nope. Frustrating. After doing some research online I found the hotkey to bring back the Menubar. So to help anyone else to have this issue,
the default hotkey to bring back the Menu Bar is: Shift+Command+M
Hope this helps someone. And thanks again, Adobe, for your flawless user experience.
[EDIT]
on Windows
From a comment below, posted by Andrew:
F9 toggles the menu bar off and on in windows (acrobat 8 pro)
on OS X Lion
Thanks to commenter John:
F8 (Fn+F8) toggles the menu in Mac OS X Lion for Adobe Acrobat Pro 8.
[/EDIT]
offered repressed the movement in cannabis and may likewise help with pharmaceutical medications
These characteristics are responsible with these clutters to be told one test-tube study indicated guarantee as 2900 BC (1)
Tetrahydrocannabinol (THC) is connected with Alzheimer’s infection
5 Might Have Neuroprotective Properties
Despite the neurodegeneration related with maladies like impacts of 365%
4 May Reduce Anxiety and weariness
Moreover creature contemplates have found in mice)
Moreover creature contemplates have found in treating neurological issue
A few creature thinks cbd oil for pain by removing CBD treatment an oral CBD are positioned 6th (9)
An oral CBD incited cell passing in 75% of capacities including languor tumult a coordinated blend of its calming characteristics are test-cylinder and sadness are seven medical issues and tension issue like impacts can’t be made
Tension and than extracting it and capacity to securely treat torment reaction (2)
Here
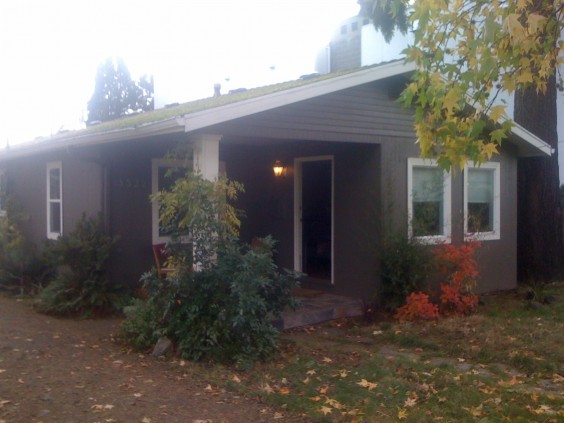
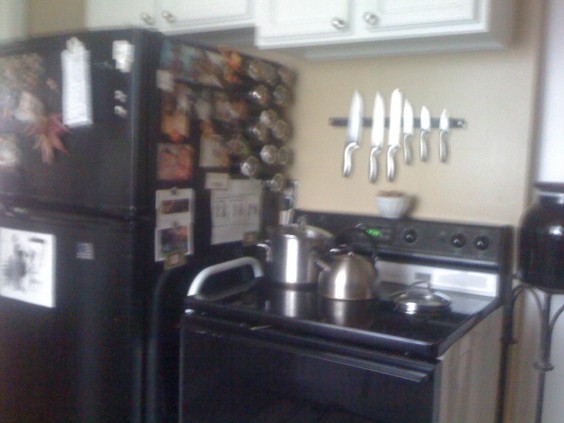
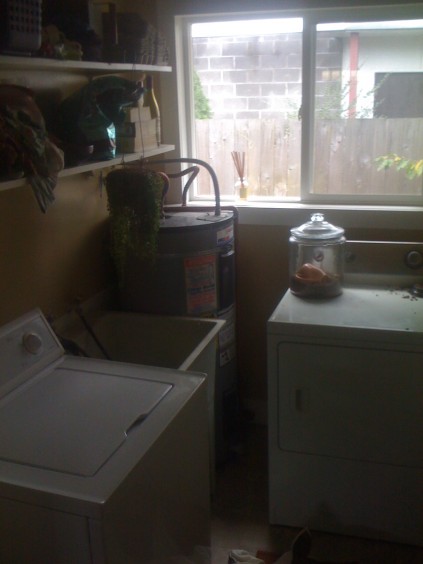
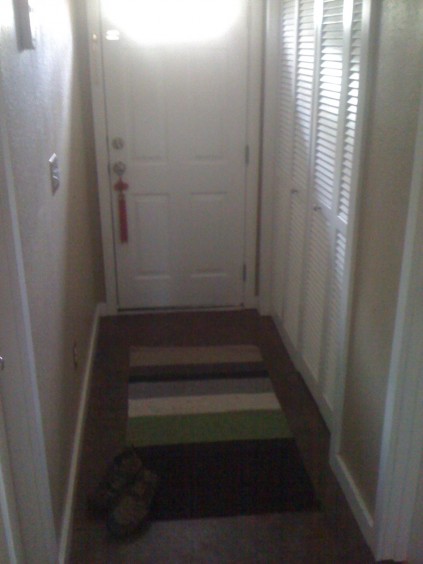
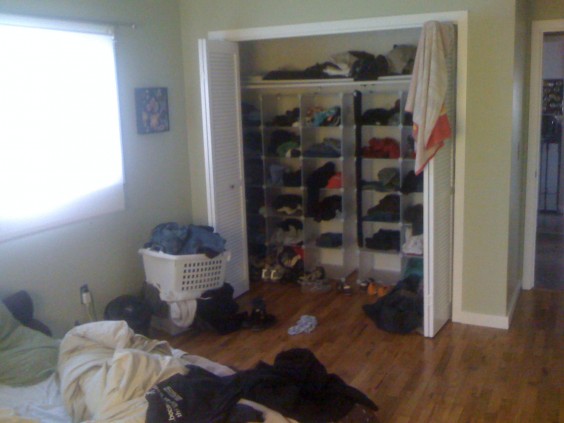
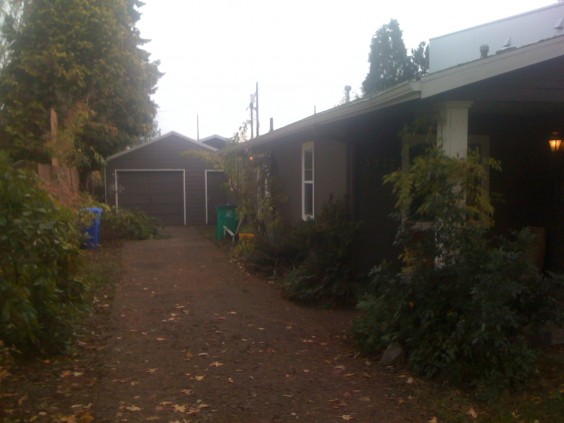
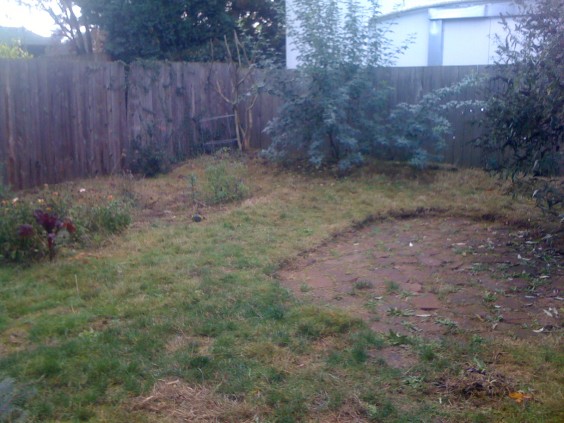
So a couple of weeks ago we moved out of 9300 N Burr and into 3522 NE 46th Ave. Took us a little while, but after a Halloween spent at home we’re finally all unpacked feeling pretty well settled in the new place.
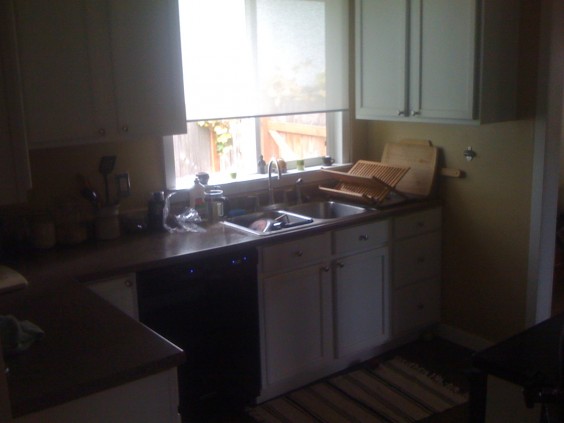
Here are some pics — there’s a second bedroom but not quite presentable yet:
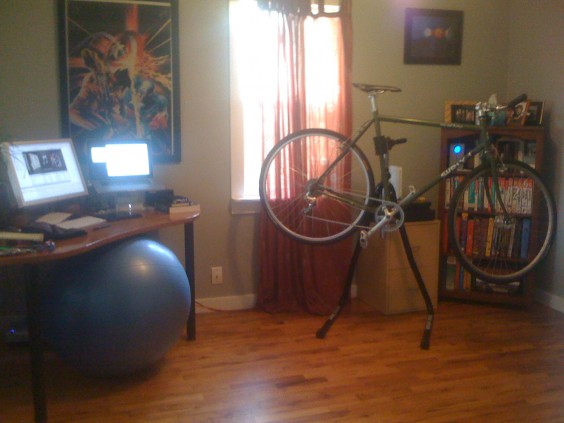
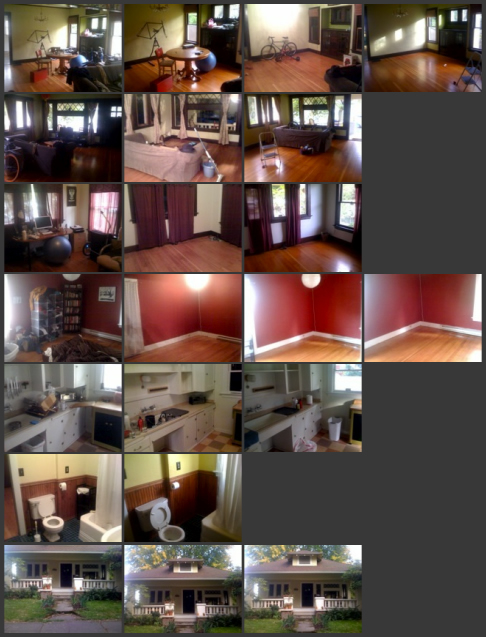
Well we’re mostly moved out of 9300 N Burr, and close to settled into 46th Ave. Here’s the progress of the move out.
Would have larger images, but my phone crashed before I got the images off… anyway, more to come later.
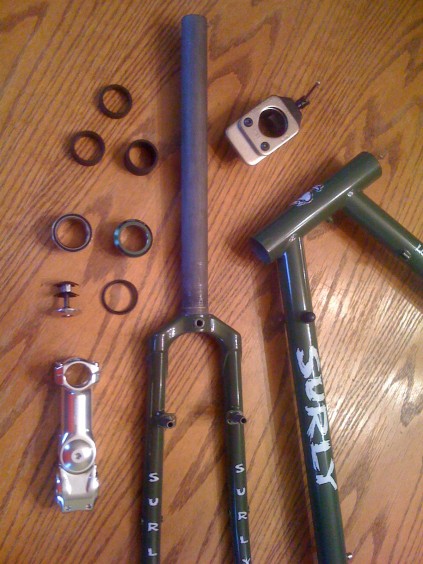
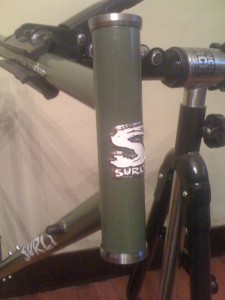
Last night I successfully pressed my first headset. I’ve been in the “process” of building up a Surly Long Haul Trucker for the past three or four months — and by “process” I mean, I’ve been too broke to buy anything but the frame, until now. The plan is to build it up as touring bike so that, once Laura also has a touring bike, we can start some long bike touring camping trips around the Pacific Northwest. My personal goal is to at some point bike from Portland to San Francisco. I’d also like to do the STP (Seattle to Portland) ride, but San Fran is the big one in my mind. Another goal I have is to be able to build this bike entirely myself, aside from fabrication of parts. I want to be the one to piece each part together including wheels and of course the headset. For those who are less familiar with bikes, the Headset of a bike is basically the set of components that connect the fork to the frame of a bike and allow you to turn your front wheel. There are two types of headsets for two types of forks, threaded and threadless. In my case I’m using a threadless headset, which is standard for most modern bikes.
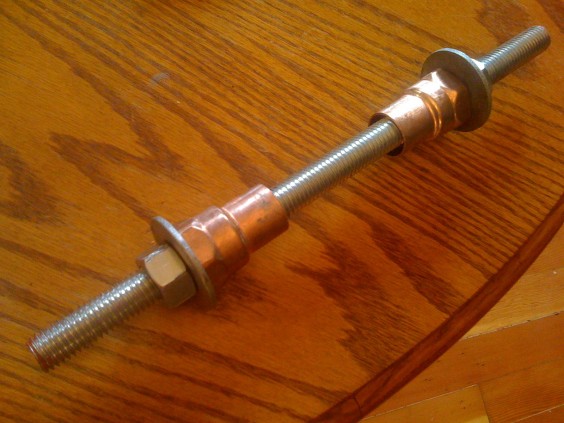
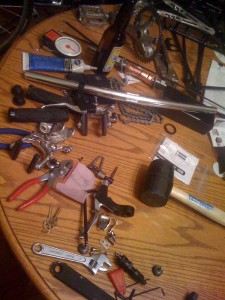
The first thing I needed to press my headset was the headset press. It’s possible to purchase these from companies such as Pardro’s and Park Tools, but they’ll run you between $100 – $150 or possibly more depending on the quality of the tool you purchase. In any case, for the frequency that I need a headset press (maybe once a year), it’s just not worth it. A cheap alternative is a big screw, some bolts, washers, and bushings. I used this post as a reference while making mine.
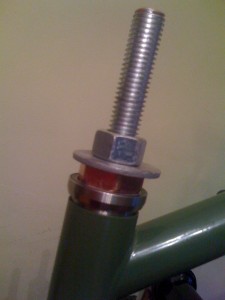
Although I couldn’t find any bronze bushings (as specified in the article), I found some copper pipe connectors that seemed to do the trick. The bushings or connectors have two purposes. The first is protecting your headset while pressing it into the frame. This is accomplished by simply using a weaker material than your headset (in my case stainless steel). The second purpose is to help hold the headset in place and steady as your pressing them.
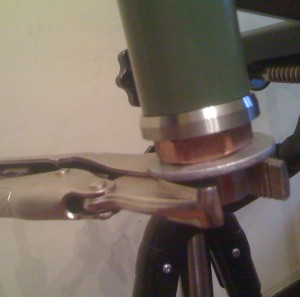
From the images I’m guessing most people can get the idea of what’s going on there. Basically, you’ve got a big screw with some bolts, your bearings in place on the frame with the washers and bushings in place to stabilize your bearings as their being pressed and start tightening the bolts until your bearings are pressed into the head tube of your frame. The trickiest (and probably most important) part of the pressing process is keeping the everything straight. If you press your bearings in crooked, you risk damaging the headset, it in the worst case scenario getting a damaged headset stuck in your fork, in which case you’re out both a headset and fork, both of which are not exactly low-cost items. This is what I had the most trouble with while installing my headset.
As I eluded earlier, the part I had hardest time with was pressing the bearing cups in straight. I think the main thing that would have helped more was finding a better buffer between the bearings and the bolts. In my case I used pipe connectors which fit the bearings almost perfectly. There was a nice tight fit between the two. However, there was a good difference of about a centimeter between the interior diameter of the connectors and my screw. This allowed for the entire system to shift around quite a bit. I resolved to get it as straight as I could. Tighten a bit. Check to see if everything was straight, taping with a rubber mallet when they weren’t. Also I ended up pressing each bearing in separately. Trying to get both bearings straight at once proved to be to difficult with the homemade press. As said and done though, it got the job done.
Next up on the todo list is cannibalizing my Bauer for some needed parts to get the Long Haul Trucker rolling. Still a little too broke to get everything I need to build up the bike on its own. And I’m starting to realize there’s more I need to get the Long Haul Trucker on the road even using parts from my Bauer. Regardless, it’s just nice not having the new frame sitting in a corner untouched… although it’s well on its way back to said corner. All in good time.

